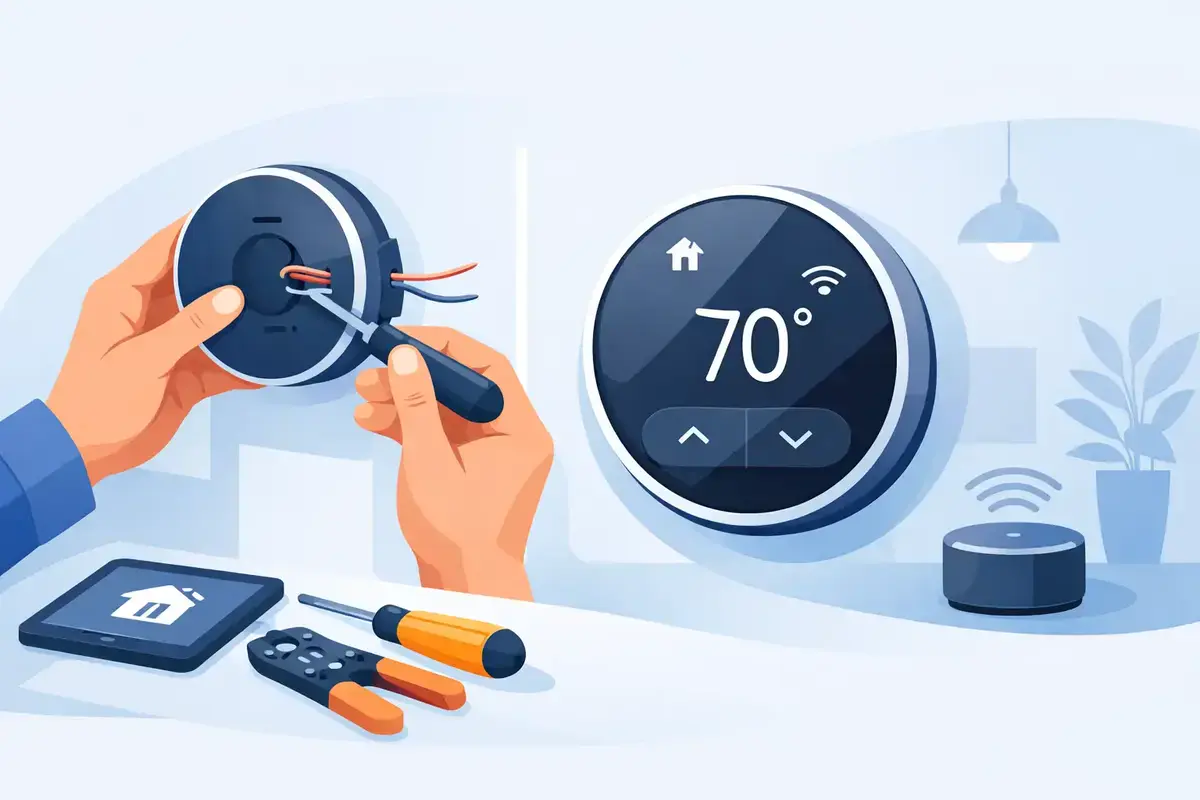
A new thermostat can look like a simple wall upgrade, but smart thermostat installation affects the way your entire heating and cooling system operates. When the thermostat is compatible, correctly wired, and properly configured, it can make daily comfort easier to manage. When it is not, homeowners may face short cycling, incorrect temperature readings, equipment alerts, or a system that will not heat or cool at all.
For Dallas-area homes, the details matter. Our long cooling seasons, high humidity, heat pumps, multi-stage equipment, and zoning systems can all change which thermostat is appropriate and how it should be set up. The right approach begins with the HVAC system, not the thermostat box.
Start With HVAC Compatibility
Not every smart thermostat works with every system. Before selecting a model, identify the equipment it will control: a conventional furnace and air conditioner, heat pump, dual-fuel system, ductless mini-split, boiler, geothermal unit, or a zoned HVAC system. A thermostat that works well with a basic single-stage system may not have the controls needed for more advanced equipment.
This is especially relevant for heat pumps. Heat pumps use a reversing valve and auxiliary or emergency heat, which must be connected and programmed correctly. Incorrect setup can cause the system to rely too heavily on expensive auxiliary heat, fail to switch modes properly, or provide cooling when heating is expected.
Multi-stage furnaces and air conditioners require similar care. These systems are designed to run at different capacities depending on demand. If a new thermostat cannot manage those stages, or is set up as a single-stage control, the homeowner may lose some of the comfort and efficiency benefits they paid for.
Check the Existing Thermostat Wires
The wiring behind the existing thermostat provides useful clues, but wire colors alone do not confirm what each wire does. Labels on the current thermostat terminals and at the HVAC control board are more reliable. Common terminals include R for power, C for common, Y for cooling, W for heat, G for the indoor fan, and O/B for heat-pump operation.
Many smart thermostats need a C-wire, also called a common wire, to receive continuous low-voltage power. Older homes often do not have one connected at the thermostat, even if the cable includes an unused conductor. In other cases, there may be no extra wire available at all.
A C-wire adapter can be an option for some systems, but it is not a universal fix. It must be installed correctly and may not be the best choice for complex equipment, zoning panels, or specialty HVAC controls. Batteries and power-stealing setups can also be less dependable than a properly installed common wire.
Choose a Thermostat That Matches Your Goals
Smart thermostats offer different levels of control. Some focus on simple app-based scheduling and remote temperature changes. Others include occupancy sensors, humidity monitoring, utility demand-response features, maintenance reminders, room sensors, and detailed energy reports.
More features are not always better. A household that prefers a consistent temperature may benefit more from a reliable programmable schedule than from aggressive learning features that change settings based on occupancy patterns. A larger home with warmer upstairs rooms may find room sensors more valuable than a model with extensive energy reporting.
For businesses, the decision often comes down to access and consistency. A smart thermostat may allow an owner or manager to monitor temperatures, adjust schedules, and receive alerts without being on site. However, commercial equipment, packaged units, building automation controls, and multiple zones often require a more specialized control strategy than a consumer thermostat can provide.
Placement Can Affect Comfort as Much as Programming
A thermostat measures the air around it. If it is located in direct sunlight, near a kitchen, beside a supply register, above electronics, or on an exterior wall, it may read a temperature that does not reflect the rest of the home. The HVAC system will then respond to a misleading reading.
Ideally, the thermostat should be on an interior wall in a frequently used area, away from direct heat sources and drafts. Moving it is possible, but it may require running new low-voltage wire and repairing wall surfaces. In many cases, a wireless room sensor is a practical alternative when one part of the house routinely feels warmer or cooler than the thermostat location.
Dallas homes also need to consider humidity. Lowering the thermostat setting may make a home feel more comfortable, but it can increase runtime and energy use. Depending on the equipment, a qualified technician may be able to configure controls that support better humidity management without simply forcing the temperature lower.
What Professional Smart Thermostat Installation Includes
Installing a thermostat safely requires more than connecting wires with matching letters. The technician should first shut off power to the HVAC equipment, document the existing wiring, and confirm the system type. This avoids damaging low-voltage components or losing track of wires during the changeout.
After mounting and wiring the new thermostat, the real work is verification. Each operating mode should be tested, including cooling, heating, fan operation, staging, heat-pump changeover, and auxiliary heat when applicable. The technician should also confirm that the indoor and outdoor units respond properly and that no fault codes appear.
Configuration is equally important. The thermostat must be told whether the system is conventional or heat pump, how many heating and cooling stages it has, whether it uses gas or electric auxiliary heat, and how the fan is controlled. The correct answers vary by system. Guessing through an app setup screen can lead to problems that are not immediately obvious.
A professional installation also provides an opportunity to identify underlying issues. A thermostat cannot correct an oversized system, duct leakage, poor airflow, a failing capacitor, or a clogged drain line. If comfort problems have been ongoing, it is worth evaluating the entire HVAC system rather than assuming the thermostat is the cause.
When a DIY Installation May Be Reasonable
A homeowner with a basic, standard HVAC system and clearly labeled wiring may be comfortable replacing an existing thermostat with a compatible model. Careful photos before disconnecting anything, turning off equipment power, and following the manufacturer instructions can reduce risk.
DIY installation is less advisable when there is no C-wire, the wiring is unclear, the system is a heat pump or dual-fuel unit, the home has multiple zones, or the current thermostat controls humidity, ventilation, or specialty equipment. The same applies when the old thermostat has more terminals than the new model, or when the HVAC equipment does not respond normally after installation.
Do not force a wire into a terminal because the color seems right. A low-voltage wiring mistake can blow a fuse, damage a transformer, or leave the system without heating or cooling. If the system fails after the thermostat is installed, turn it off and have the wiring inspected rather than repeatedly resetting breakers or changing settings.
Set Up Schedules for Real Life
Once the thermostat is installed, create a schedule that fits how the building is actually used. Small adjustments are generally more practical than dramatic setbacks, particularly in North Texas summers. Allowing the indoor temperature to rise modestly while the home is empty can reduce cooling demand, but setting it too high may leave the system working hard to recover during the hottest part of the day.
For heat pumps, large temperature setbacks in winter can trigger auxiliary heat during recovery. A steadier schedule may be more efficient. The best settings depend on the equipment, insulation, occupancy, and comfort preferences, so a one-size-fits-all recommendation is rarely accurate.
Keep app access secure as well. Use a strong password, enable available account protections, and make sure more than one responsible household member or facility contact can access the thermostat. That becomes especially helpful during travel, tenant turnover, or an unexpected equipment issue.
Get More Value From the Upgrade
A smart thermostat is most useful when it is part of a maintained HVAC system. Replace filters on schedule, keep outdoor equipment clear of debris, and address unusual noises, weak airflow, water around the indoor unit, or uneven temperatures before they become larger repairs. The thermostat can provide useful alerts, but it cannot replace seasonal maintenance and trained diagnosis.
For homeowners and property managers with advanced systems, professional smart thermostat installation offers added confidence that the controls are working with the equipment rather than against it. M.B. Kiser Heating and Air Conditioning can evaluate compatibility, install the right control, and verify every operating mode so your system is ready for the weather ahead.
The best thermostat is the one that makes comfort easier without compromising how your HVAC equipment was designed to run. Start with a compatibility check, then let the system’s needs guide the installation.